Documentation
UVdesk - How to add support agents?
What are Support Agents?
Support Agents are individuals who check the customer's query in the ticket and reply to their query with the best possible solution.
Steps for adding support agents-
- Login to the UVdesk Support Portal.
- On the Dashboard, you will see "USERS" menu and under it, you will find "Agents".
- Click on the "Agents" Icon and then you will be redirected to a new page.
- In the new page, you will see a list of existing agents ( if any ) and "New Agent" button.
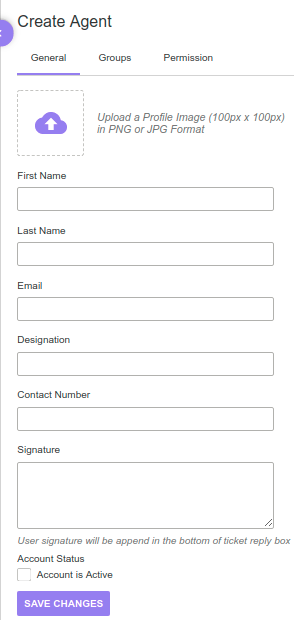
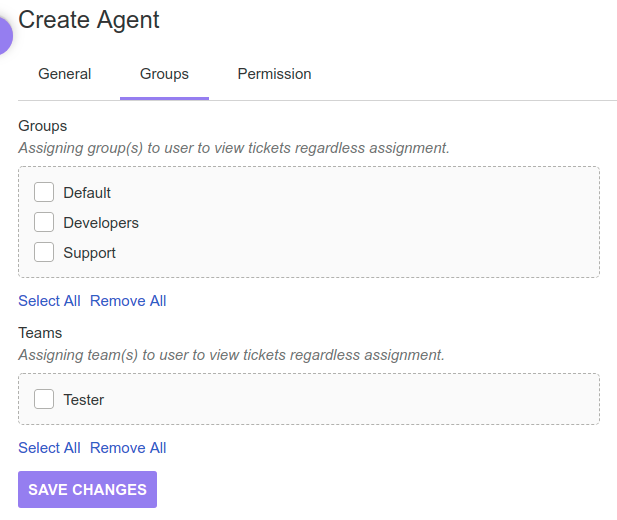
- On the Agent creation page, you will see three tabs- General, Groups & Permission.>
- In the General Tab, upload an Agent image, enter First Name, Last Name, Email, Designation, Contact Number, enter Signature, select checkbox on "Account Status" for Enabling the Agent.
- In the Group Tab, choose the group(s) in which you want to assign the agent.
- After the Group Selection, choose the team(s) in which you want to assign the agent.
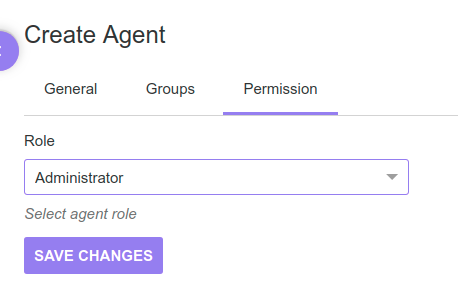
- Now, move to the "Permission" tab.
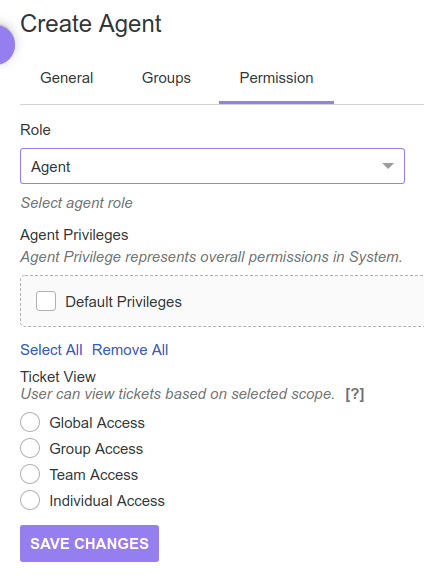
- In the Role drop-down, select "Agent" and then select the privileges or the responsibility in "Agent Privileges" section.
Choose the privilege(s) in which you want to assign the agent. - After the Agent Privileges, select the "Ticket View" for the agent so that the agent can see only those tickets for which View permission is granted.
- Click on "Save Changes" to save information and create a new agent.
- The owner can also create Support Staff or the agent from the UVdesk Dashboard. On the Dashboard, there is a (+) sign on the top right corner and when you will click on that plus (+) sign, then you will see create a new option for "Ticket, Agent & Customer".
- Click on the "Agent" option and then you can add a new agent.


General Tab-


