Documentation
UVdesk - Branding of the portal
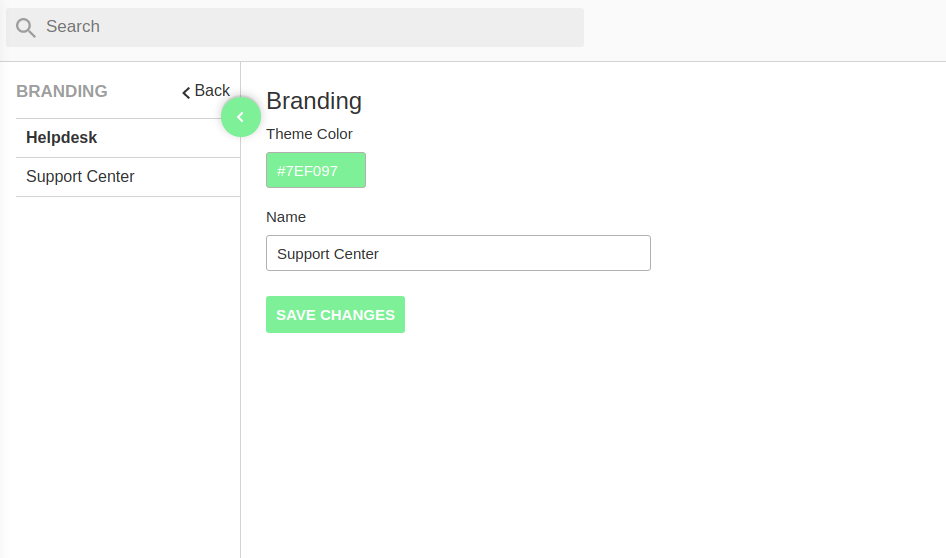
Steps for Branding of the portal:
- Login to your UVdesk Support Panel.
- On the Dashboard, you will see "SETTINGS" menu and under it, you will find "Branding".
- Click on the "Branding" Icon and then you will be redirected to a new page.
- In the new page, you will see a total of five tabs namely- General, Knowledgebase, Time, SEO, Links, Advanced & Broadcast Message
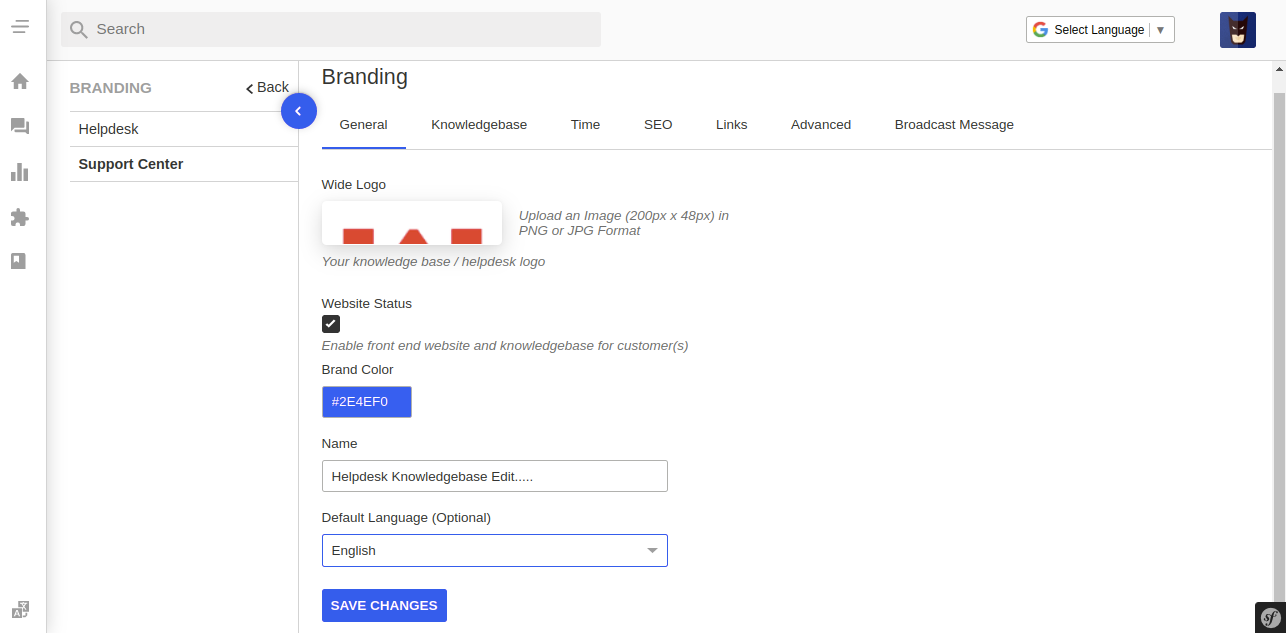
- Under "General" tab, the owner can upload Wide Logo, Website Status, choose Brand Color, enter Name and set the default language.

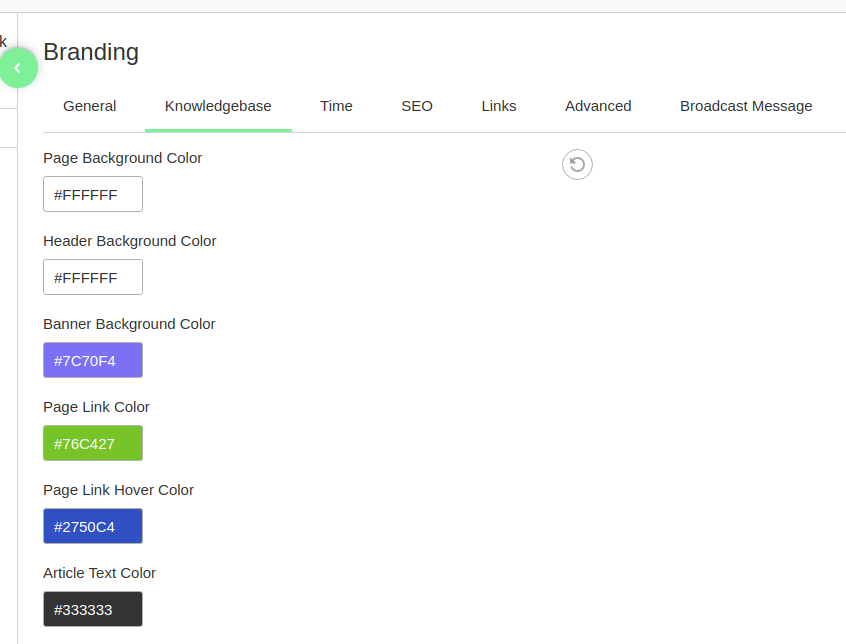
- Page Background Color
- Header Background Color
- Banner Background Color
- Page Link Color
- Page Link Hover Color
- Article Text Color
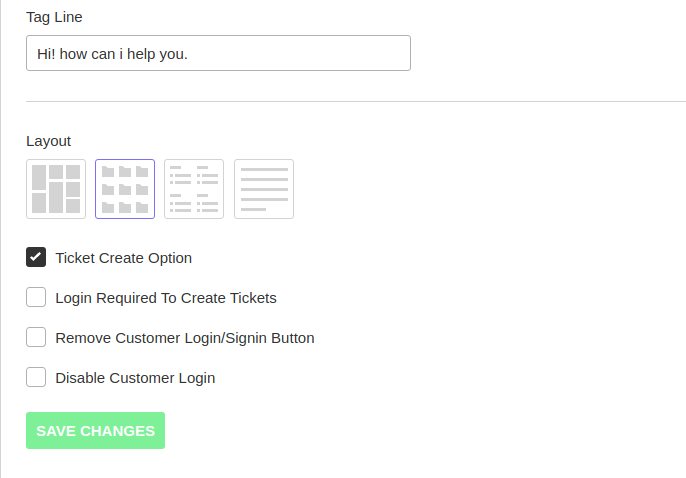
- Tag Line
Note:
- In the Layout, the owner can select their preferred layout and in that style folders and articles will be displayed to the customer.
- The owner can also select "Ticket Create Option" & "Login Required To Create Tickets". By selecting "Ticket Create Option", the user can see the button of creating a ticket on the front end and by clicking on "Login Required To Create Tickets", the customers have to sign in before creating any ticket.
- Owner can Remove Customer Login/Sign in Button.
- Disable Customer Login if required for sometime.
- Under the "SEO" section, the owner can also set Meta Description and Meta Keywords.
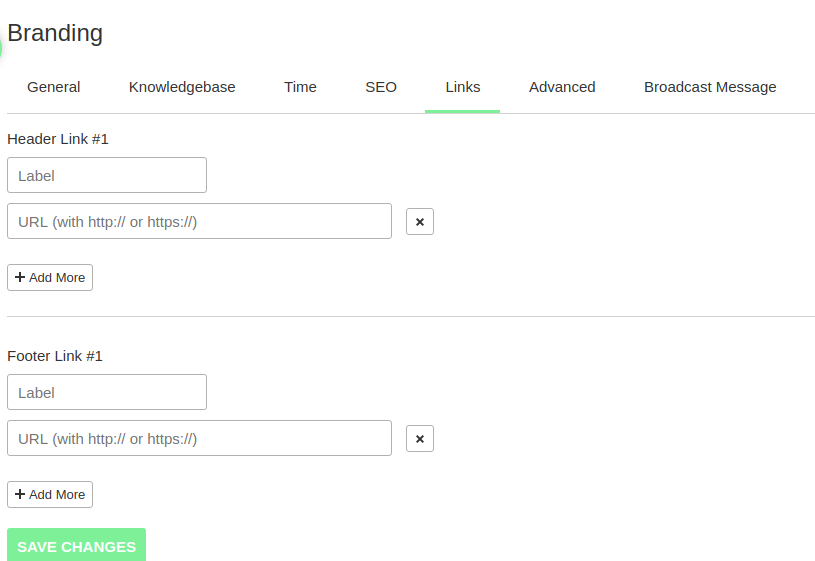
- Under the "Links" tab, the owner can enter the label and URL of Header Link and Footer Link. The owner can add multiple Header and Footer Links under this tab.
- Under the "Time" section, the owner can also set the date and timezone.
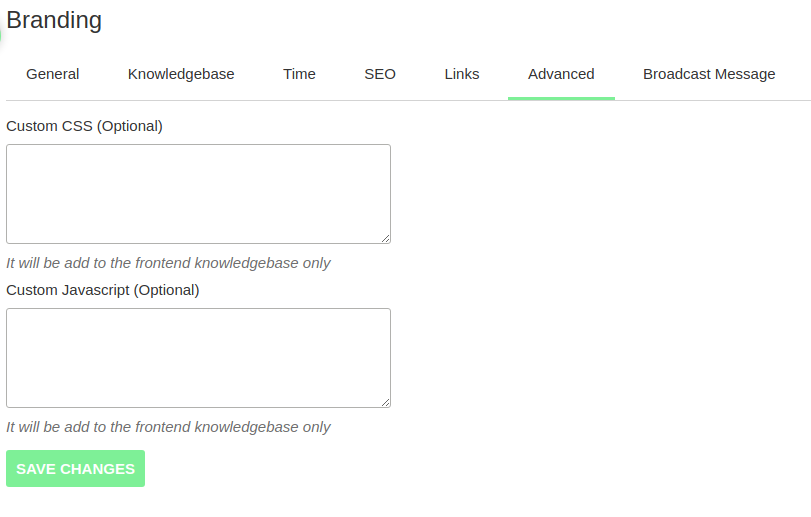
- Under the "Advanced" tab, the owner can add Custom CSS & Custom Javascript which will be reflected only on the front end knowledge base.
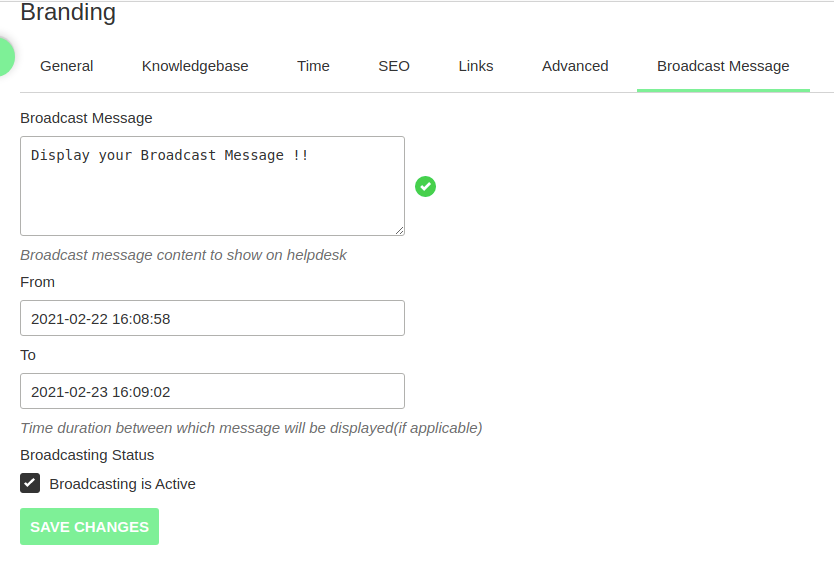
- In "Broadcast Message", enter your Broadcast Message, select From & To Date and enable Broadcasting Status.
- The Broadcast Message will be displayed on your Front-end website and Knowledgebase for the customer(s).
For example: registered_domain_name.uvdesk.com/en like the below image.
