Documentation
UVdesk -How to set-up Workflow?
These are "business guidelines that can automate your customer support process". Workflows constitute an event, condition, action.
You can configure department specific rules that automatically sends an e-mail notification, assigns a task to users and update field values when matched with the defined execution criteria.
The main reason behind creating automated business rules is that agents will no longer to do these repetitive steps manually which surely reduces boredom amongst them and focus on other tasks that are having prime concerns.
Understanding basics of workflows:
- Events are basically predefined functions namely Ticket, Agent, Customer.
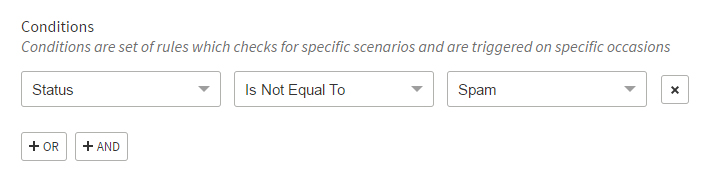
- Conditions are available for Mail, Ticket, Customer and consist of two buttons- AND, OR.
- For AND option all the mentioned conditions have to be true then further execution will take place while for OR option either one of the conditions needs to be correct.
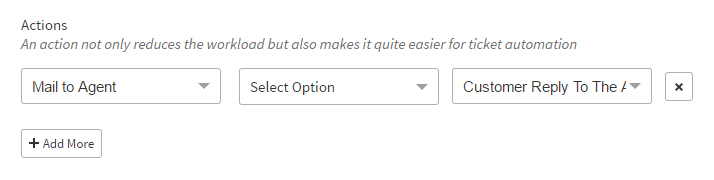
- Actions will occur or applied in the event when an event gets matched with the specific conditions.
Quicks steps for creating a Workflow:
- Login to your UVdesk Support Panel.
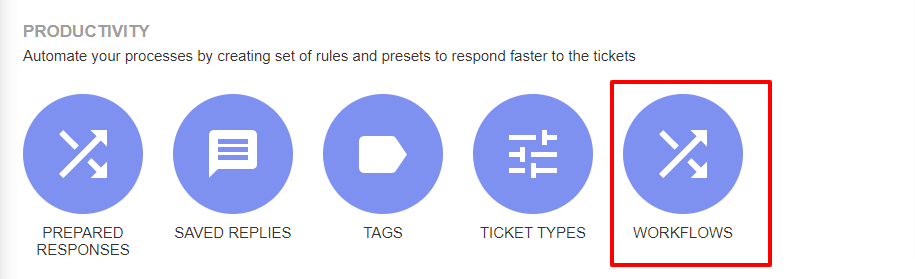
- On the Dashboard, you will see "PRODUCTIVITY" menu and under it, you will find "Workflows".
- Click on the "Workflows" Icon and then you will be redirected to a new page.
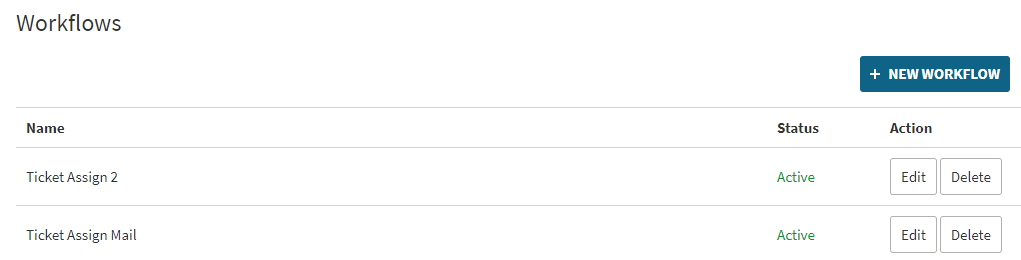
- In the new page, you will see a list of existing Workflows and "New Workflow" button.
- Hit the "New Workflow" button and then you will see a page for creating a new Workflow.
- For the reference, I am creating a workflow of "Mail to an agent when ticket generated".
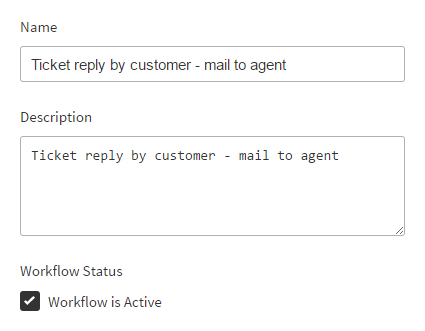
- Enter Name, Description and check "Workflow is Active" checkbox.
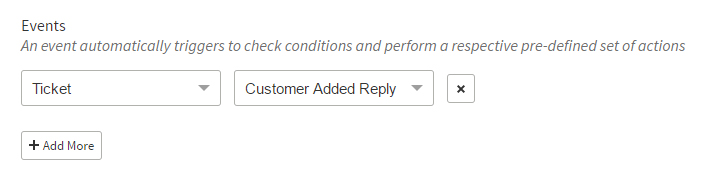
- In the "Events" drop-down, I will select Ticket and Created.
- You can set "Conditions" for specific Events and are triggered on specific occasions.
- In the "Action" drop-down, select the action which you want.
- Hit on the "Save Workflow" to create and save this workflow.