Documentation
UVdesk - How to add Prepared Responses?
Prepared Responses are the Manual Workflow which can be applied to the ticket manually by the support staff or an agent. The owner or the support staff can create "Prepared Responses" easily. Without specifying the condition, you will be directed to the actions part.
The benefit of Prepared Responses:
Manual Workflow or Prepared Responses automate few things like ticket assignment, changing the status, tags, priorities, etc as per the need.
Quick Steps for adding Prepared Responses:
- Login to your UVdesk Support Panel.
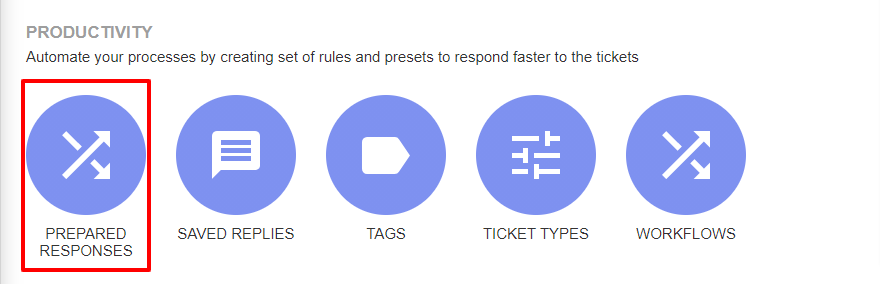
- On the Dashboard, you will see "PRODUCTIVITY" menu and under it, you will find "Prepared Responses".
- Click on the "Prepared Responses" Icon and then you will be redirected to a new page.
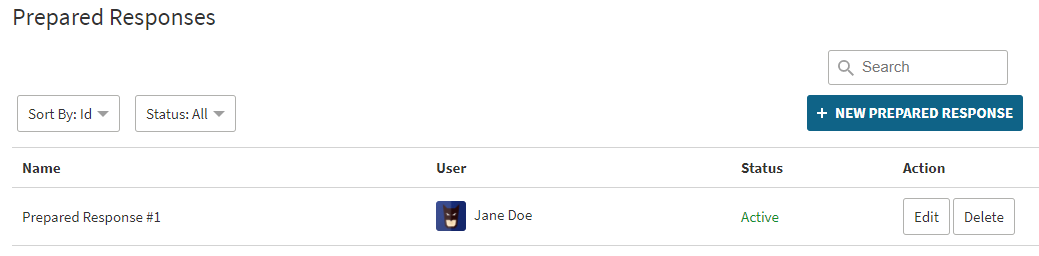
- You will see a list of Prepared Responses with Delete & Edit Button. You can also search the Prepared Responses in the search box. You can sort the Prepared Responses by Id & Name and by the Status.
- Click on "New Prepared Response" button for adding a new Prepared Response.
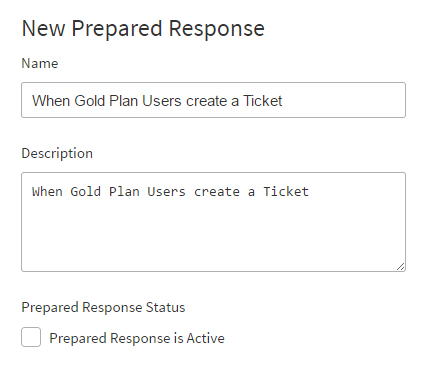
- Enter Name, Description, select Prepared Response Status.
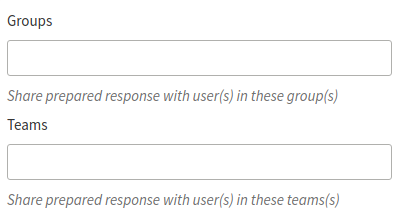
- The prepared response can be shared with groups and teams.
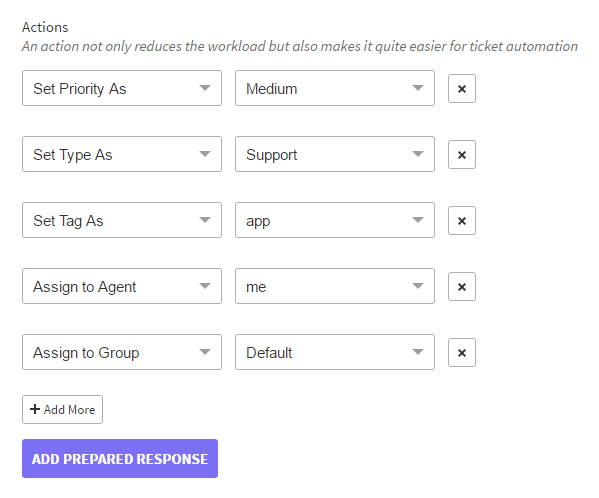
- Under the "Actions", select Action and its consecutive option as per the requirement.
- Click on "Add Prepared Response" to save the new Prepared Response.
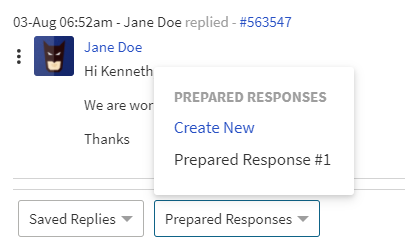
Where can you use Prepared Responses?
On the ticket view, the agent can see in the footer, a drop-down for Prepared Response. From the drop-down options select the Manual workflow or Prepared Response which they want to apply for the ticket and those actions will be applied after the selection.