Documentation
UVdesk - How to add an Article?
What is an Article?
These are the rich content text files providing relevant information for any particular topic. One can quickly get the answers to all the problems from these rich content articles.
In short, the articles are saved documents from which a customer or a user can fetch valuable information. You can make sure that your customer has a right insight by sharing a proper and standard knowledge base with them.
The support agents if they have a privilege can add and organize solution articles under the category and folders within the support portal so that your customers can quickly browse through them in their self-service portal.
Steps for creating a Article-
- Login to your UVdesk Support Panel.
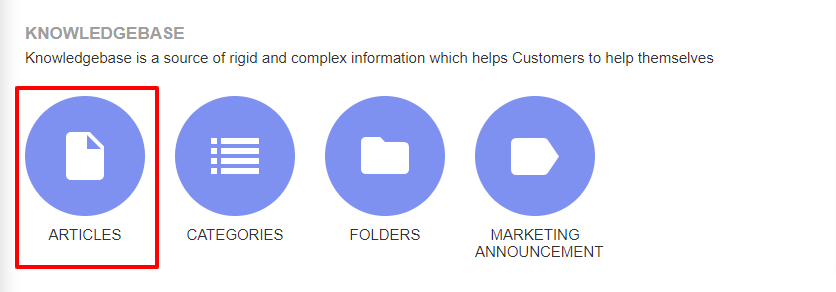
- On the Dashboard, you will see "KNOWLEDGEBASE" menu and under it, you will find "Articles".
- Click on the "Articles" Icon and then you will be redirected to a new page.
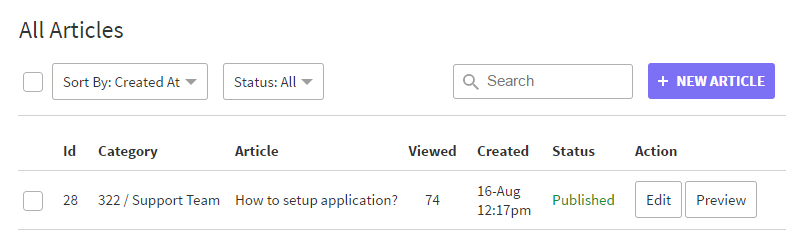
- You will see a list of existing articles with its status, edit & delete buttons. You will also see Category and ID for each article.
- Click on "New Article" button to add a new Article.
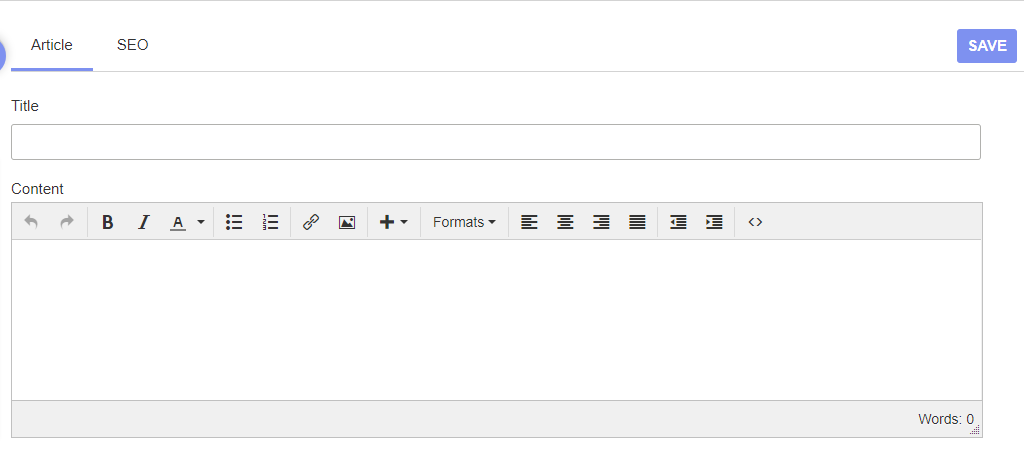
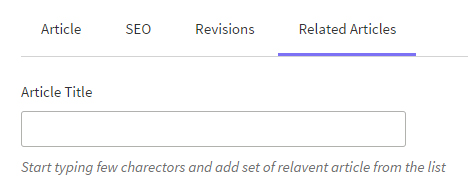
- Enter Title, Content under the Article Tab.
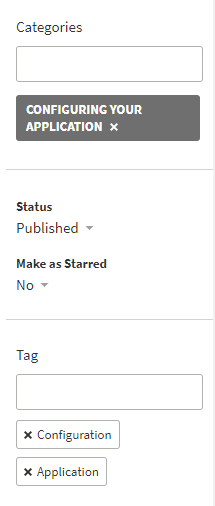
- When the status of the article is Publish, then the article will be displayed on the front-end.
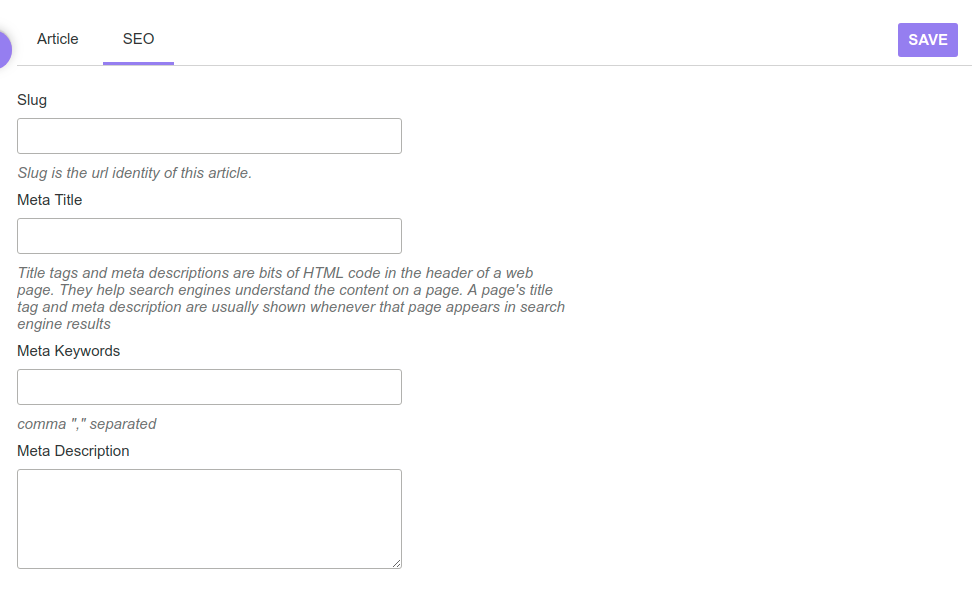
- Under the SEO, enter Slug, Meta Title, Meta Keywords & Meta Description.
- Under the Related Articles, you can enter the Article Title which you want to display on the front-end to the customer along with this current article.
- Under the Revisions feature, it stores a record of each saved or published article. You to see what changes you made in the article along with the time and date and you can also restore back the revision made on any specific date.
- The agent will also add Categories into the article by typing the first two alphabets of the Category name and then select it and add in the article.
- The agent will also view, preview and update their articles as taping on the front right side corner buttons.
- Click on "Save Changes" to save information and create a new Article.